Sunday 3 September 2017

More tentacles.....

.......because you can never have too many! This necklace is now on sale in my Etsy store here and is the first of a couple of new pieces that will be going into the shop this week. Also, all pre-exisiting stock is discounted at 10% for the rest of September!

Sunday 20 August 2017

13arts guest designer

Ah, my poor neglected blog! I have not one but two projects to share that I created for 
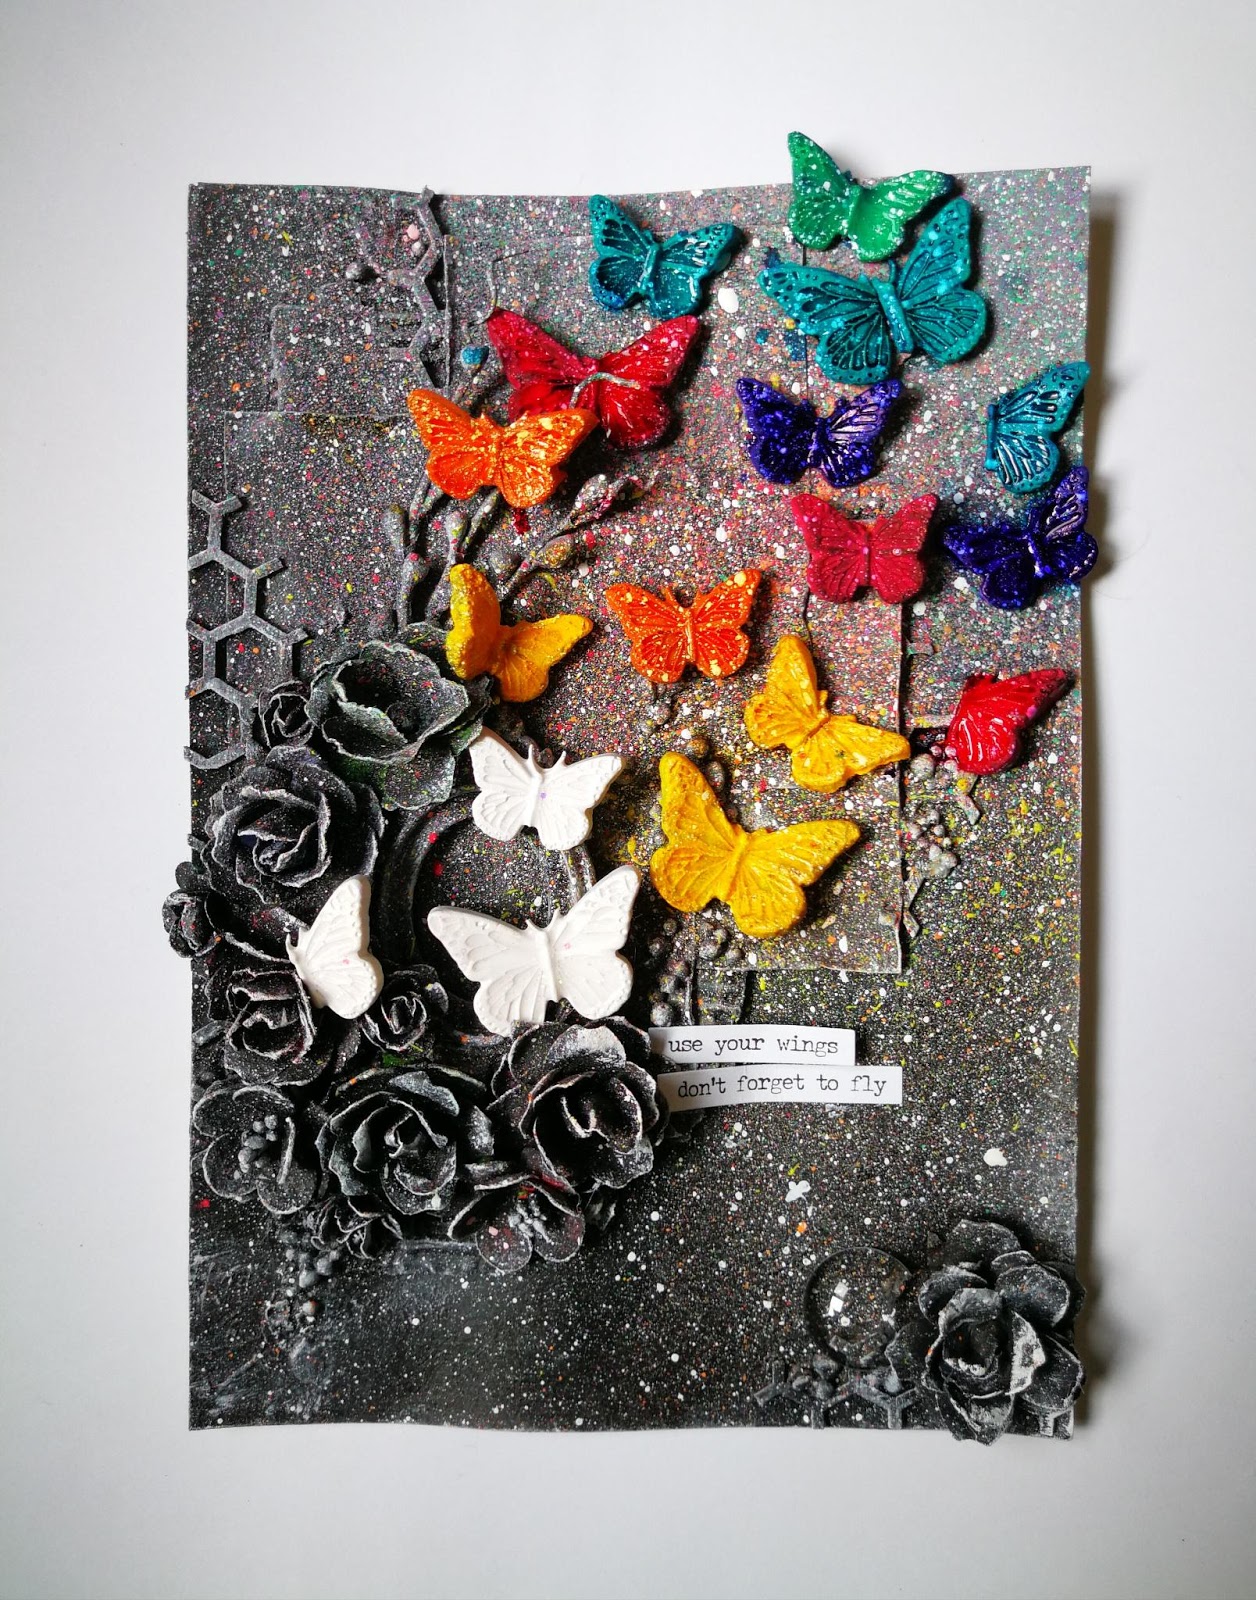
13arts. My July project can be seen 
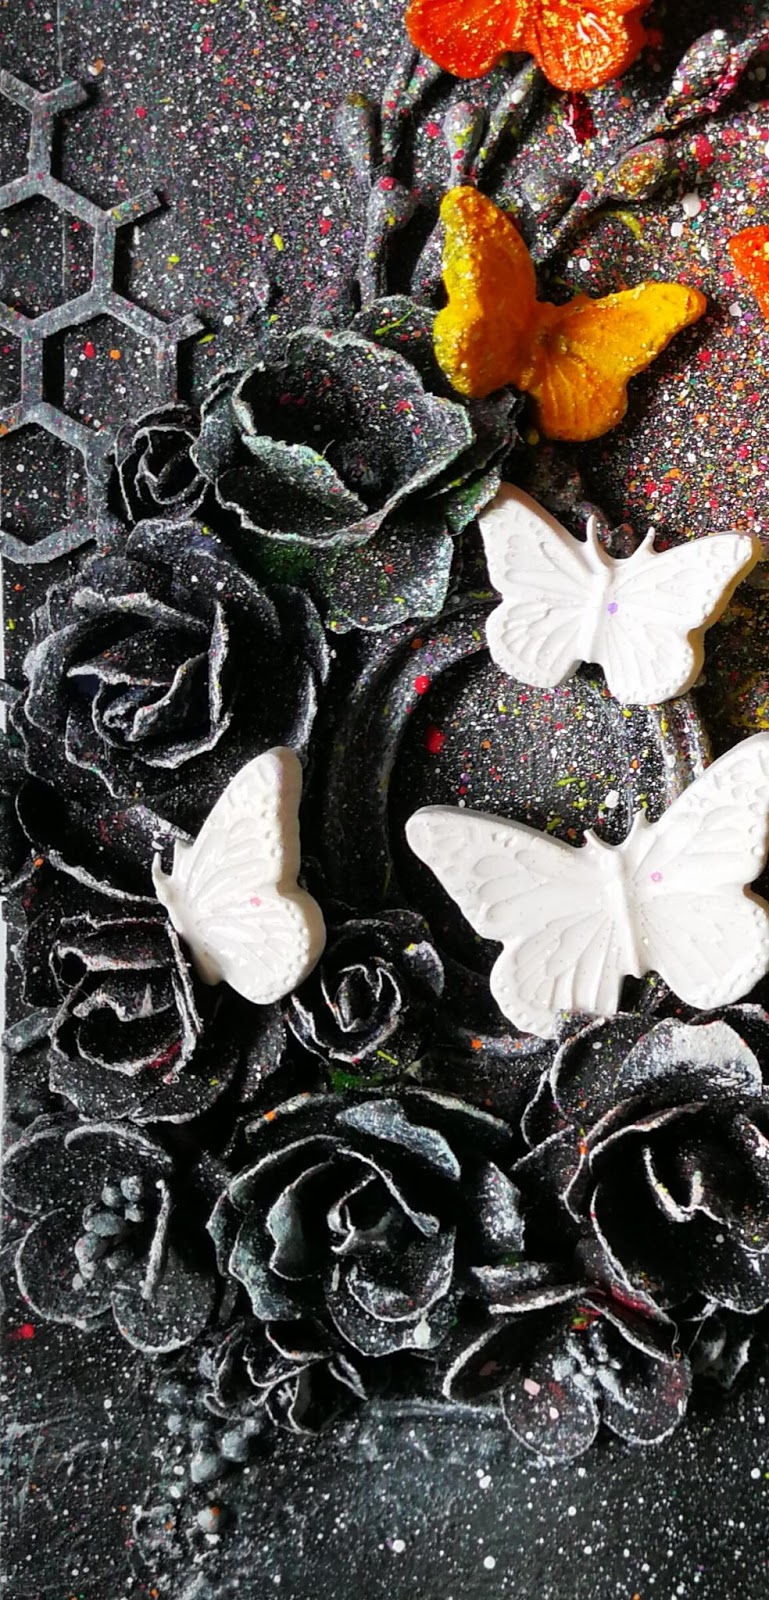
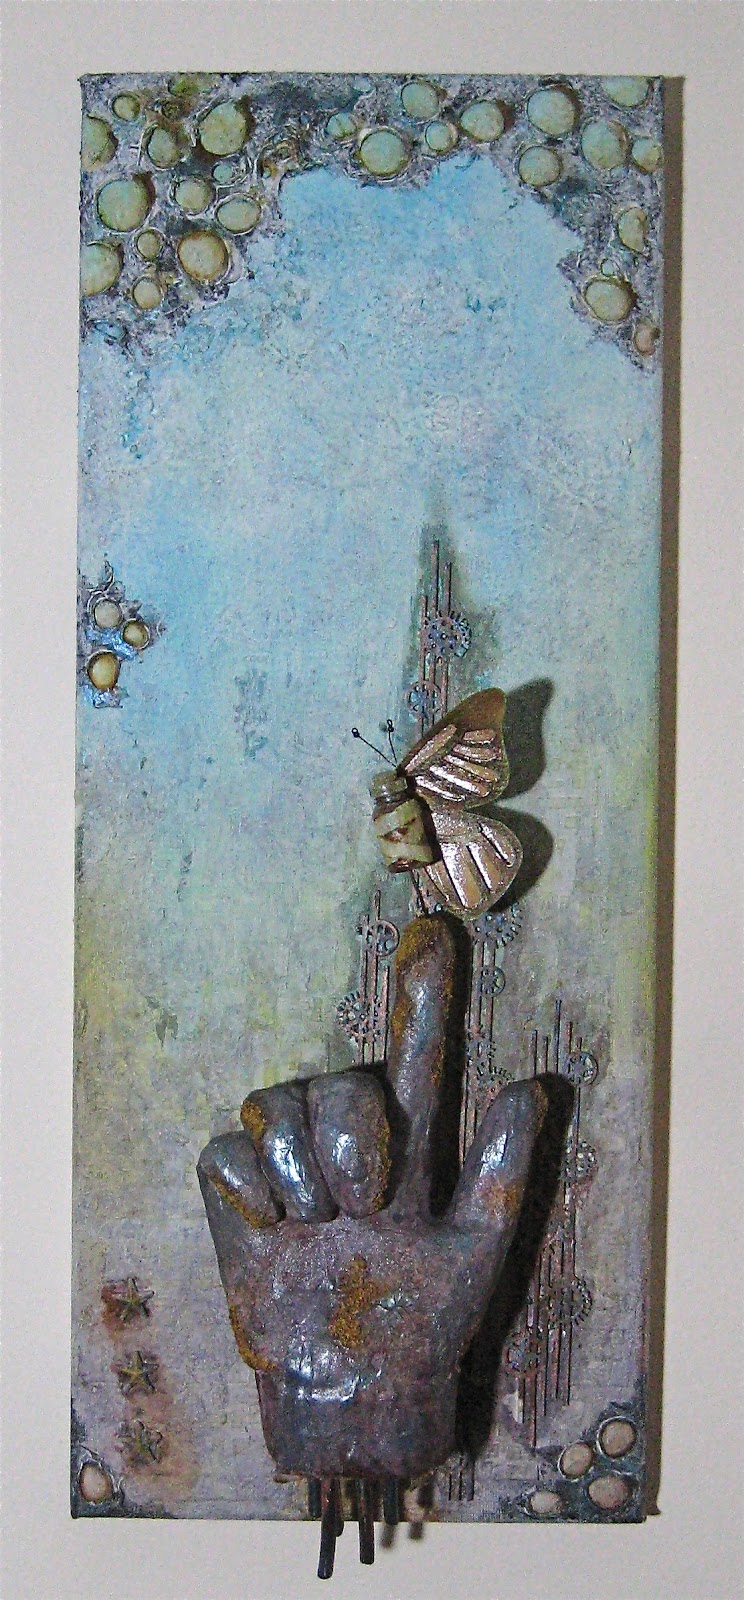
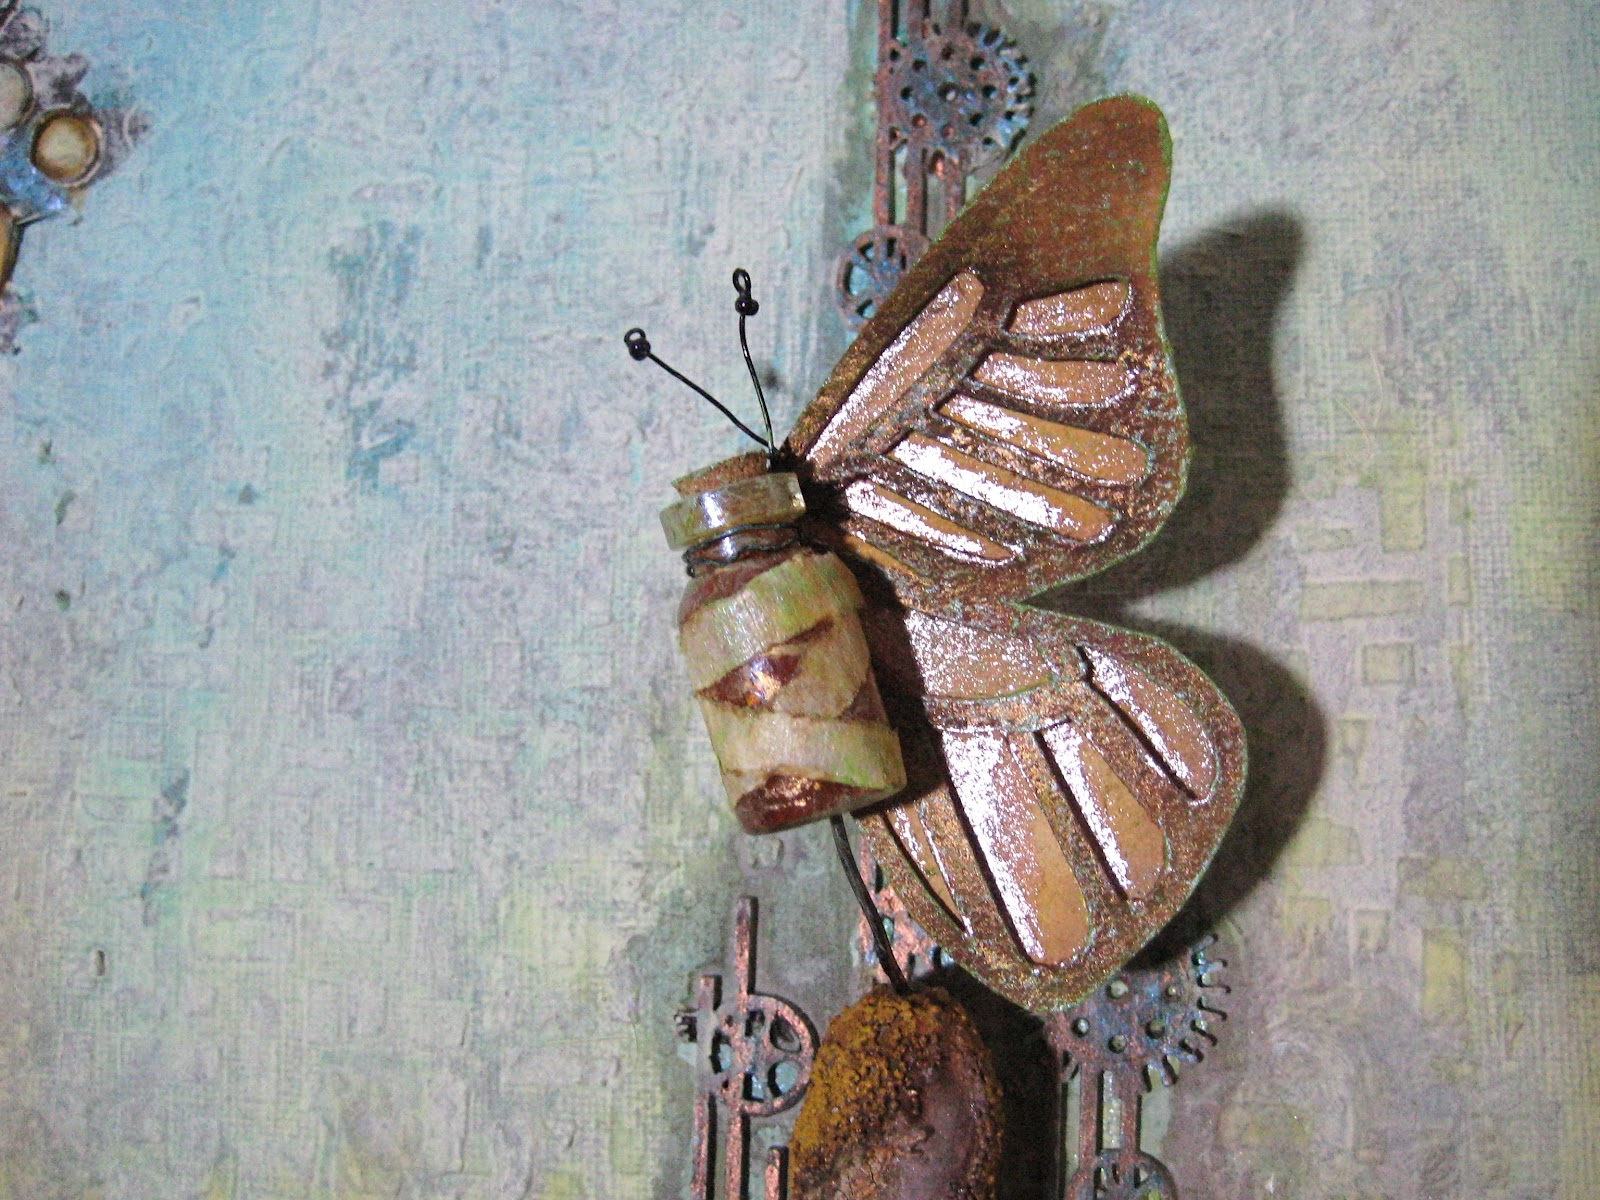
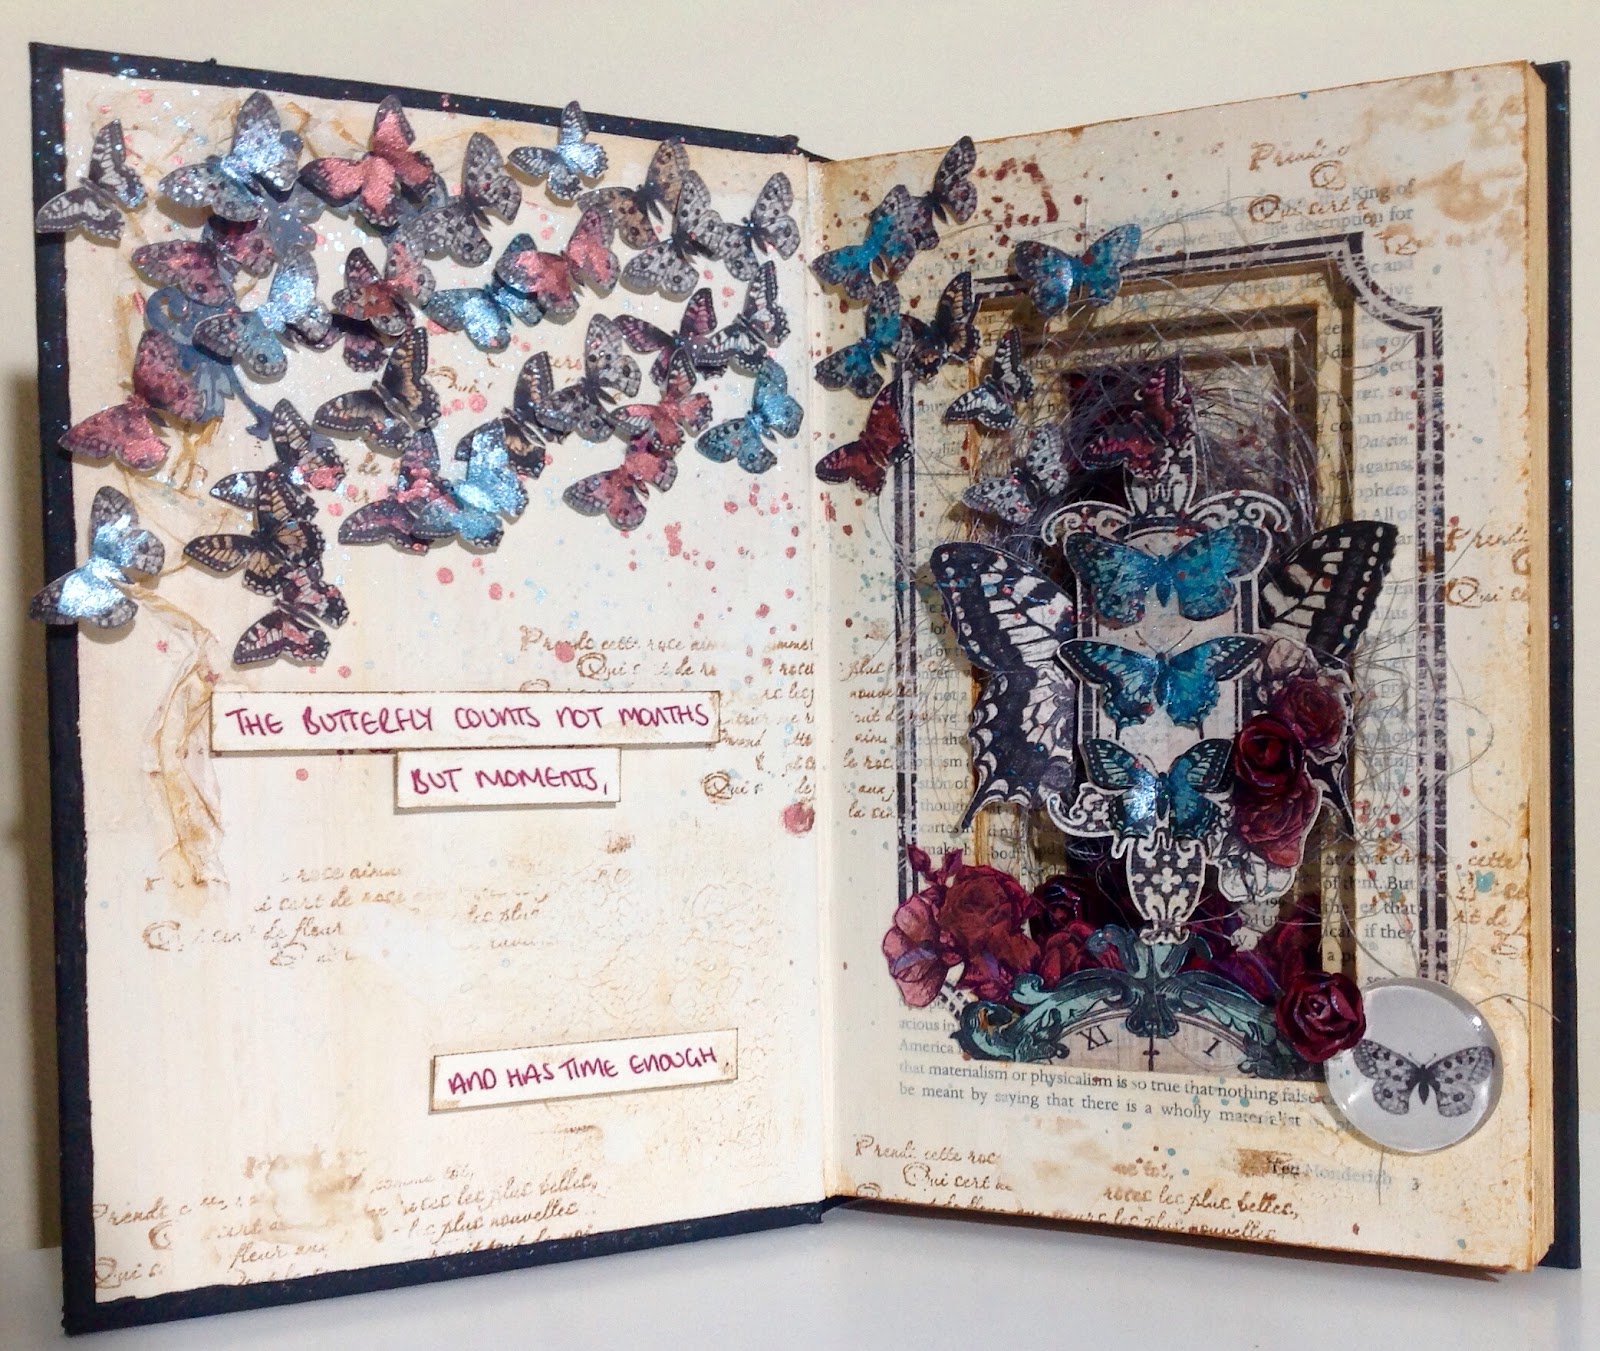
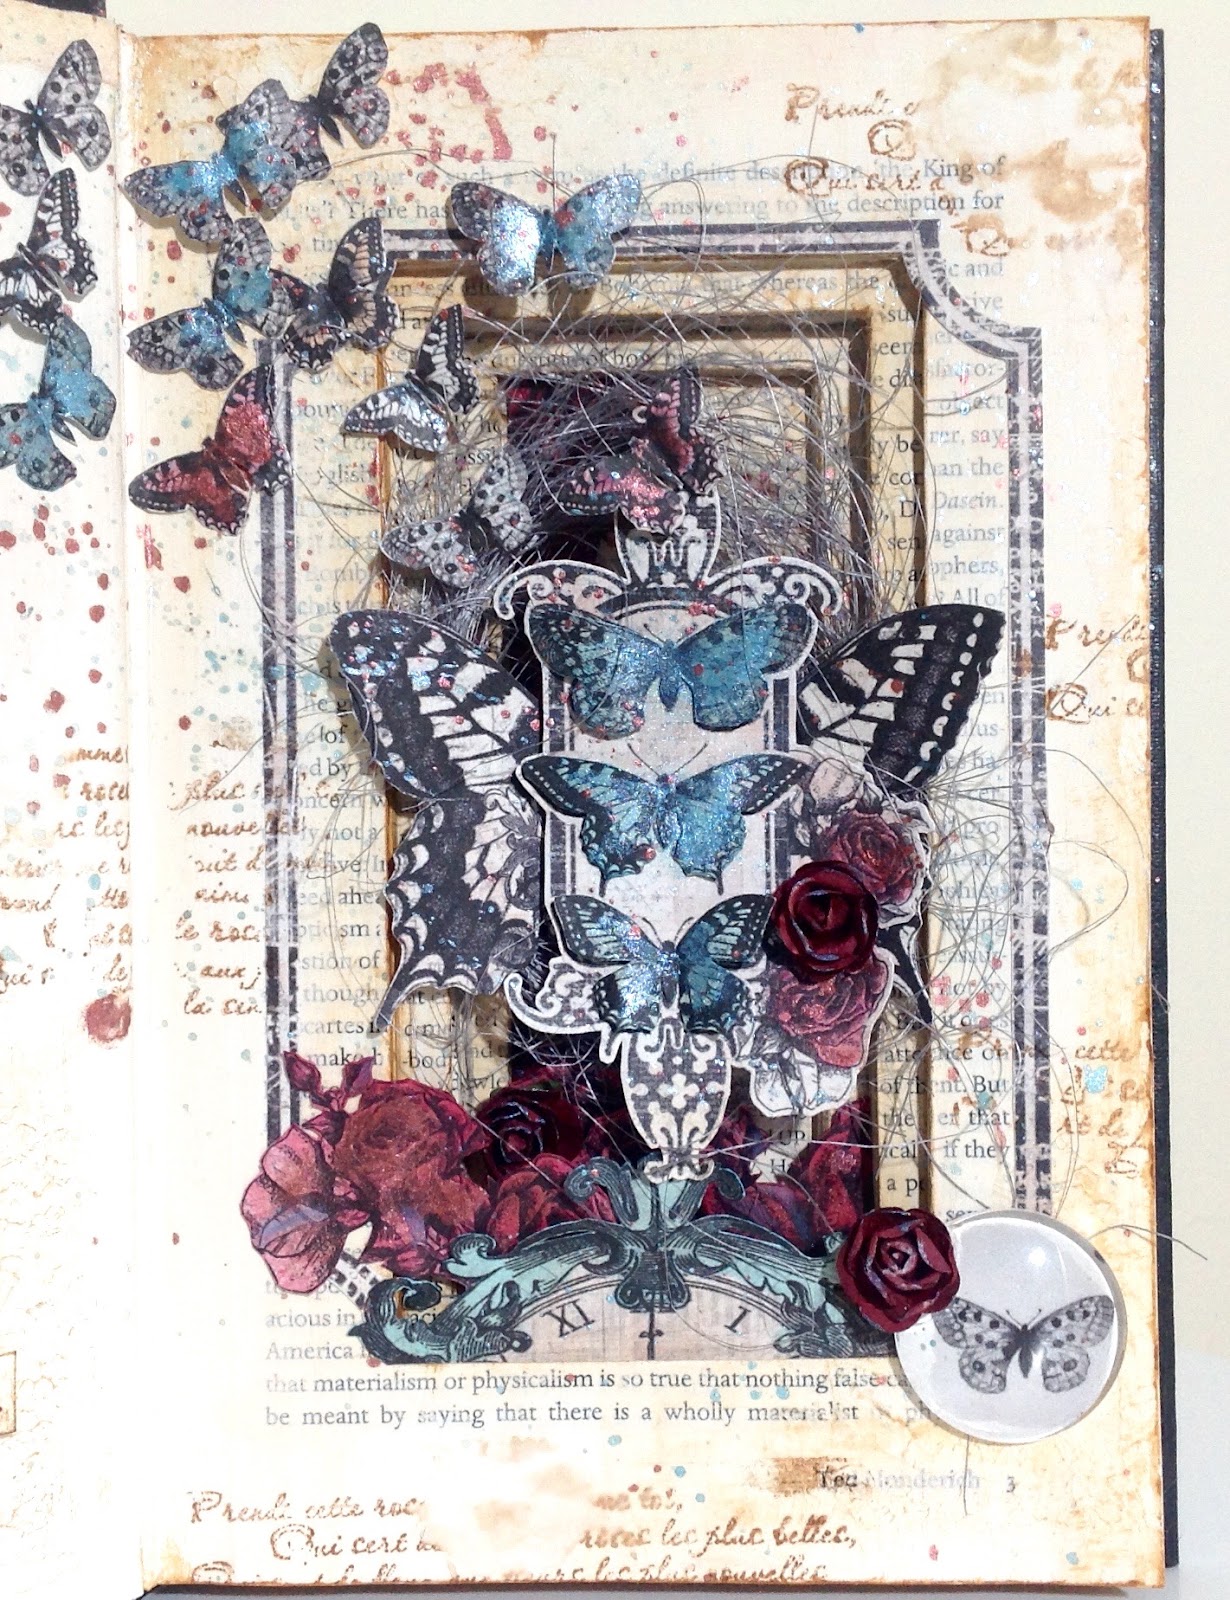
here with a full product list. The His & Hers paper range has some beautiful feather designs on it and they always make me think of wings, so that's exactly what I made with them!
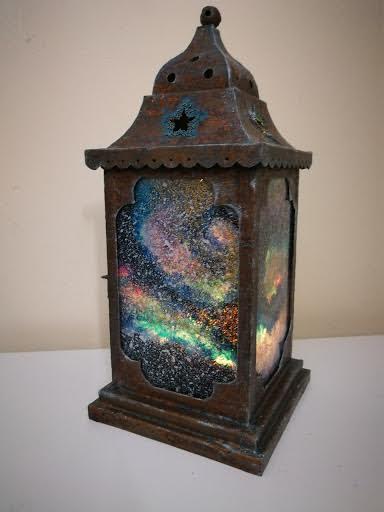
 For my August project, I wanted to make something a little different. I had an old Christmas decoration lantern that I got super cheap in the sales so I decided to give it a new lease of life as a galaxy lantern.


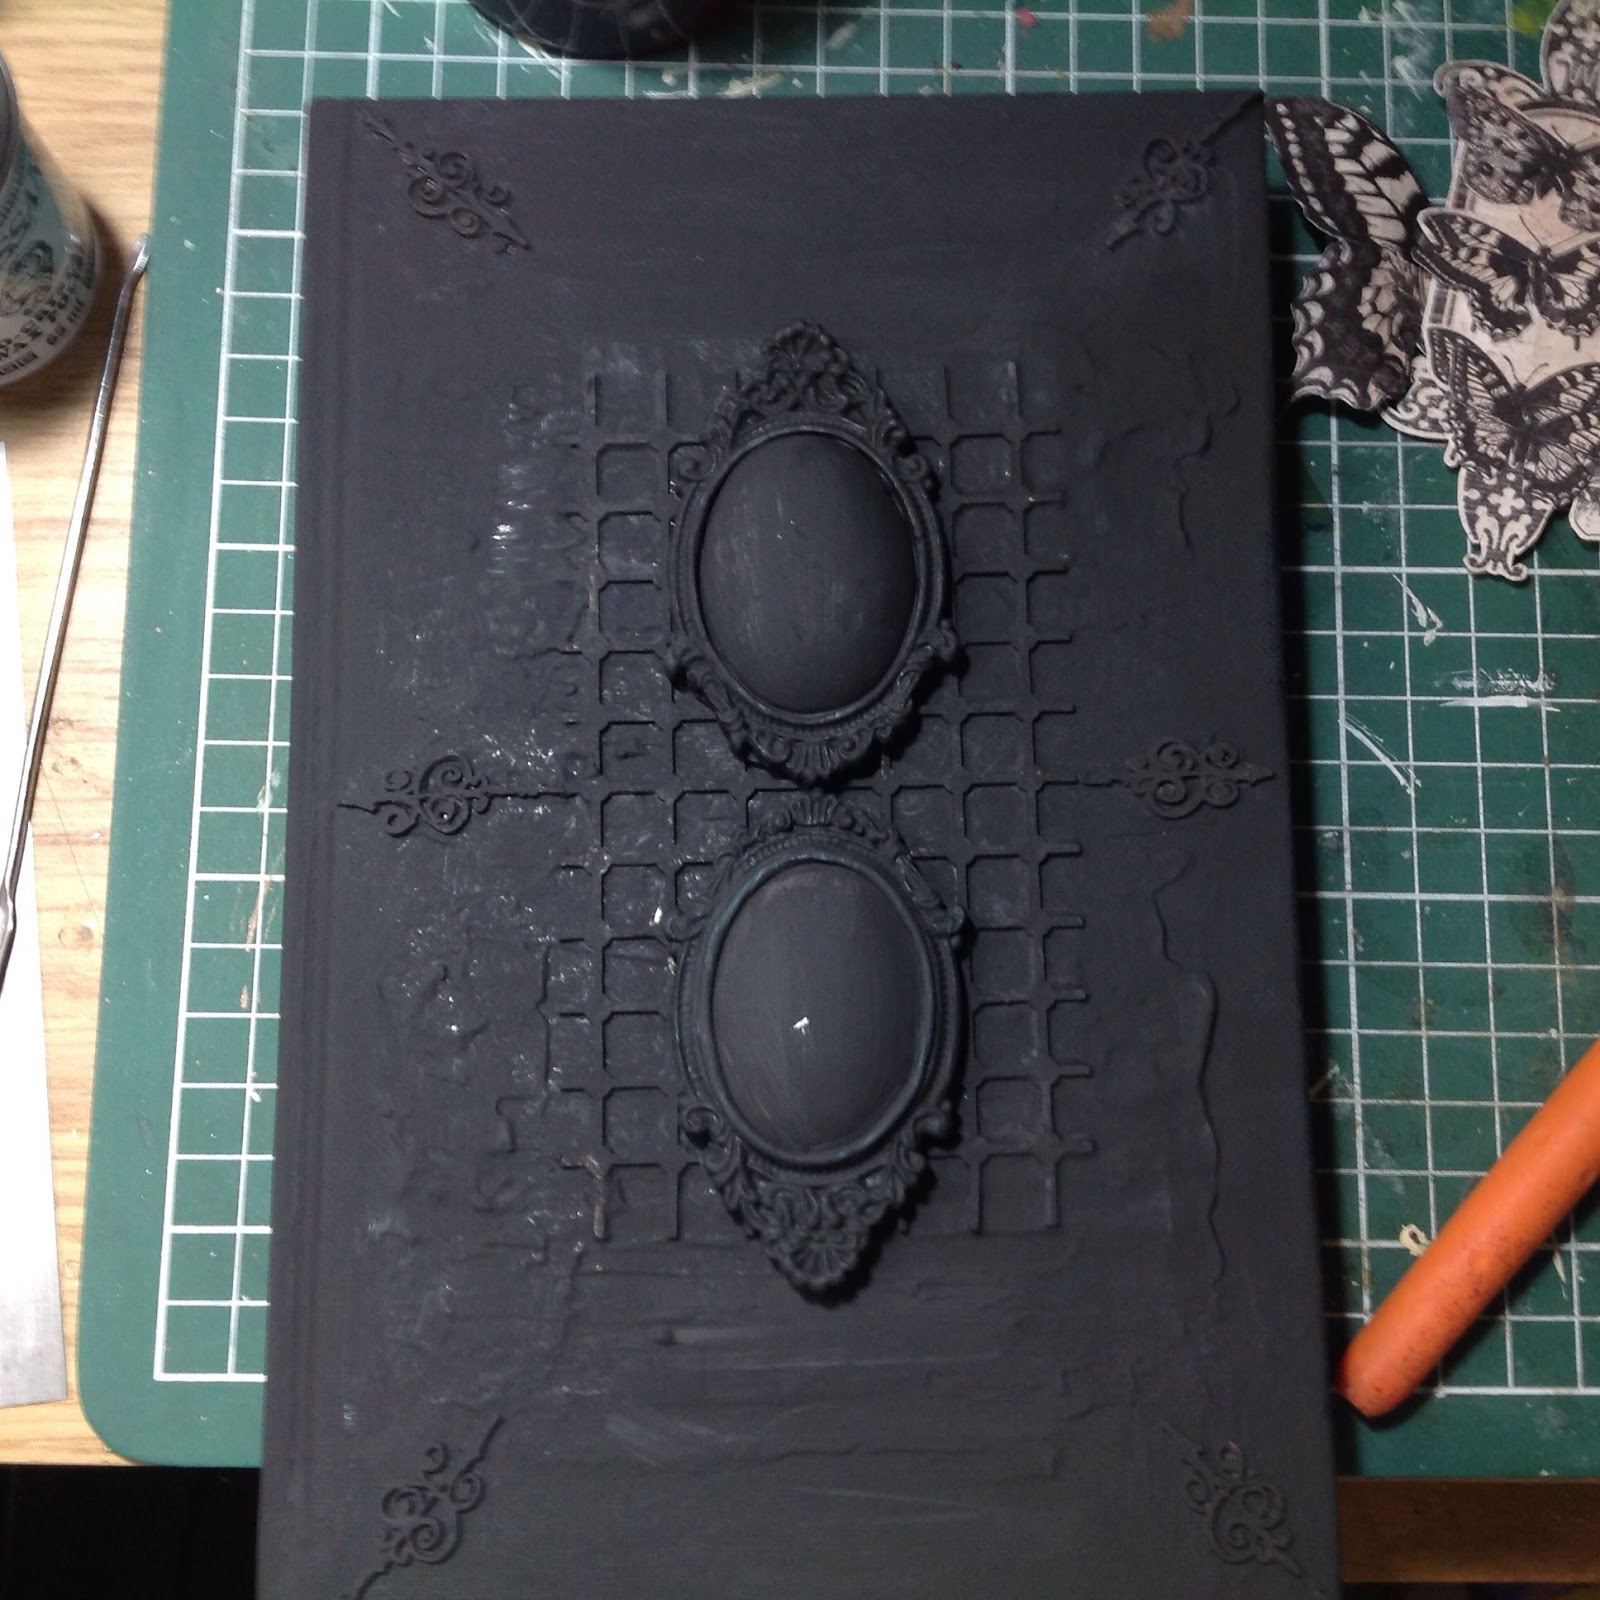
 I removed the glass panels from the frame and put them to the side. I primed the frame with 
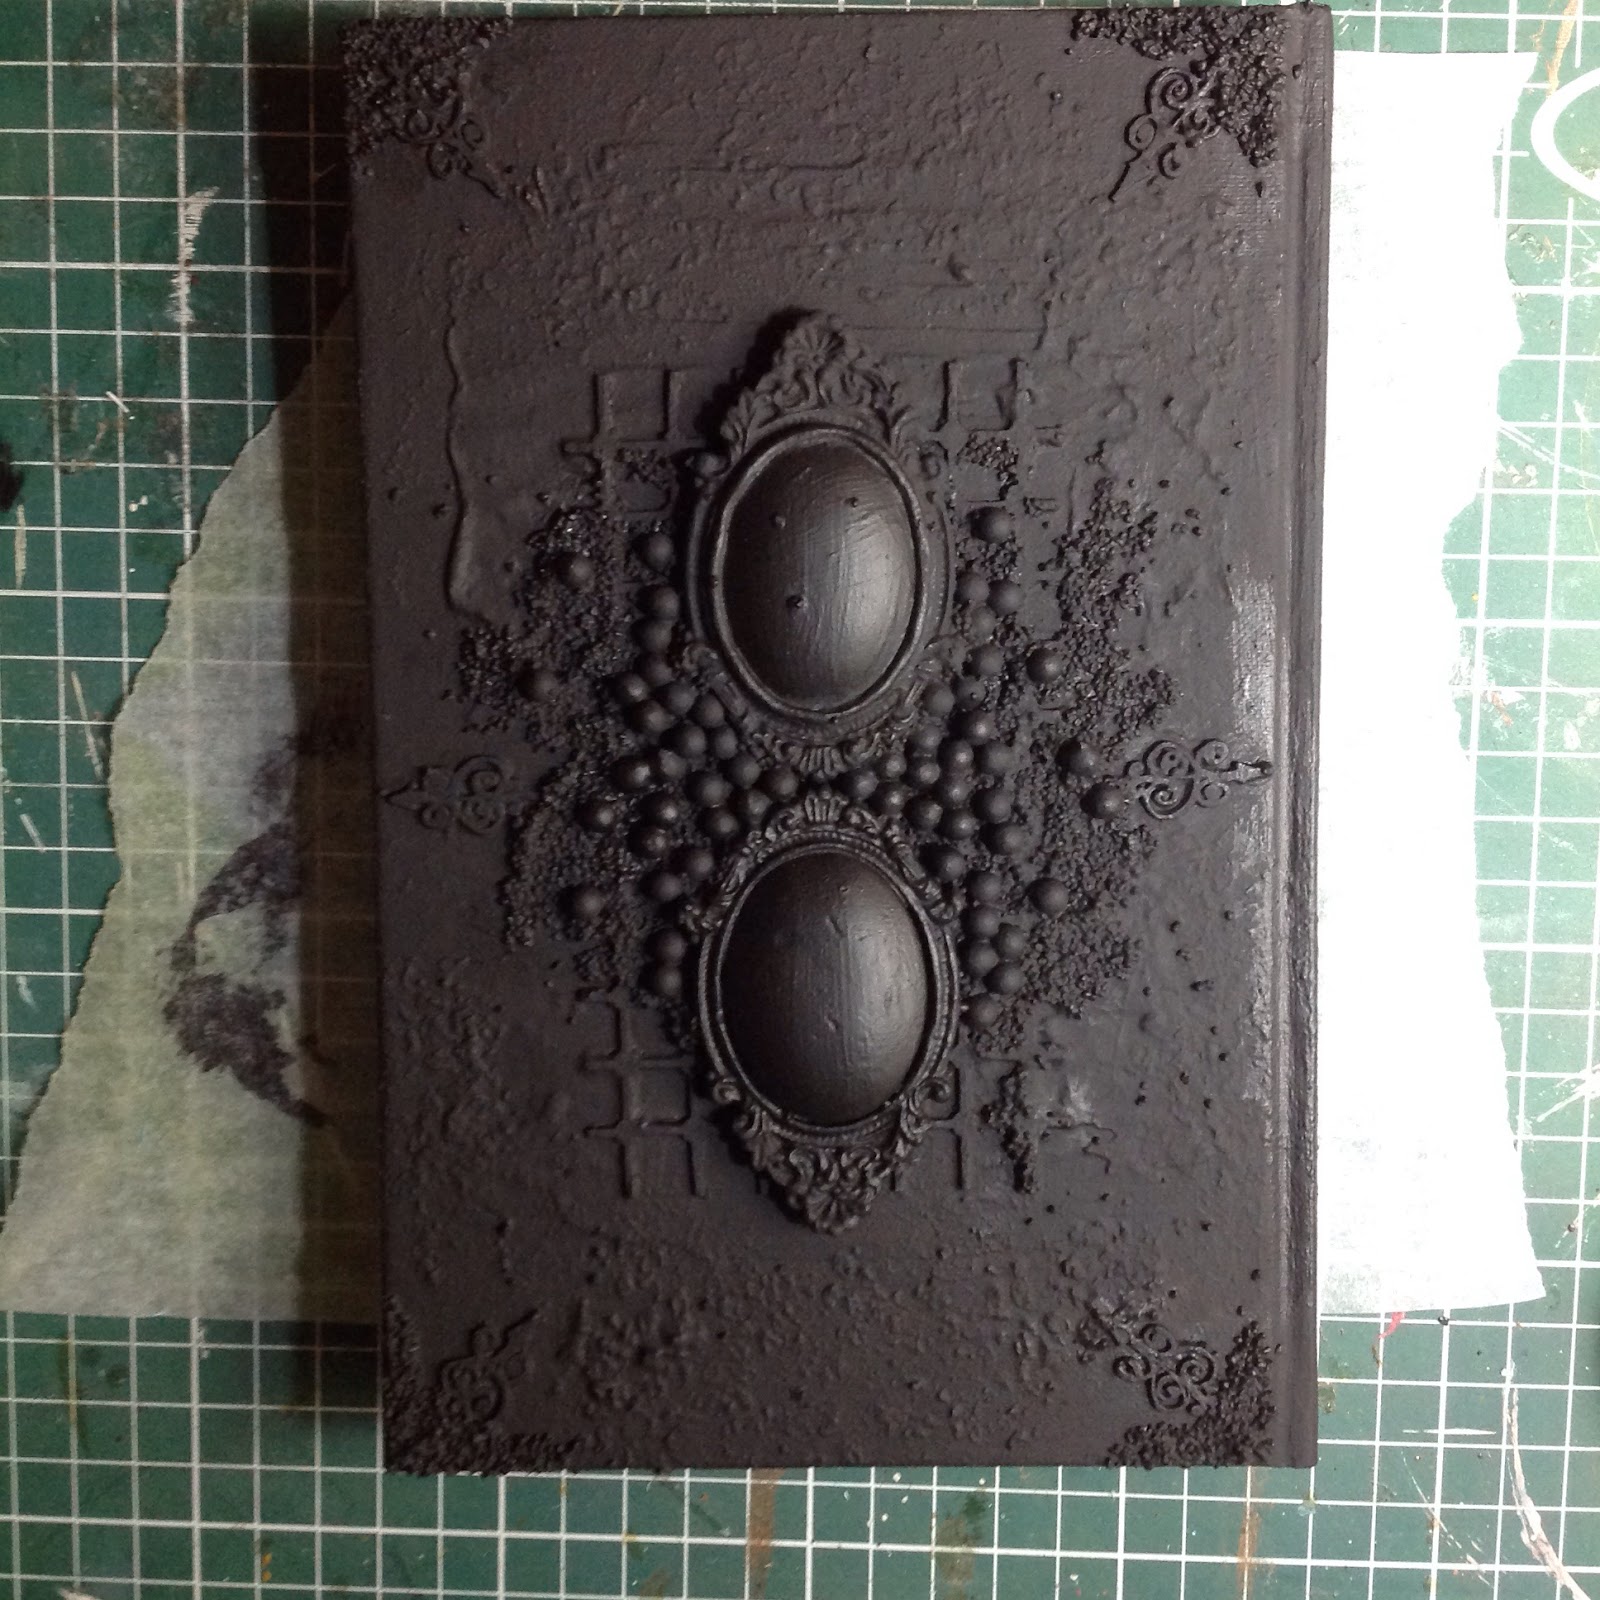
black gesso, and then roughly mixed together metallic bronze paintExpresso paint and clear Crackle glaze and painted the frame with the mixture. Once it was dry, I added some drops of Turquoise mist to chalk-finish medium to give a very matte mixture and used this to highlight the cracks and to give a faded look. I then dry brushed white gesso over the frame to highlight some areas. Now for the galaxy look!


  Because I wanted the outside of the glass to remain smooth, I had to paint the galaxy effect in reverse. First, white gesso was splattered over the glass to create the look of stars and once this was dry, I added swirls and areas of Gold Glitter paint to create the effect of constellations. Then I poured some acrylic liquid medium into a spray bottle and covered the glass in it to seal the layers so far and create a little dimension. (This stuff is amazing! So versatile and so many things you can do with it!)


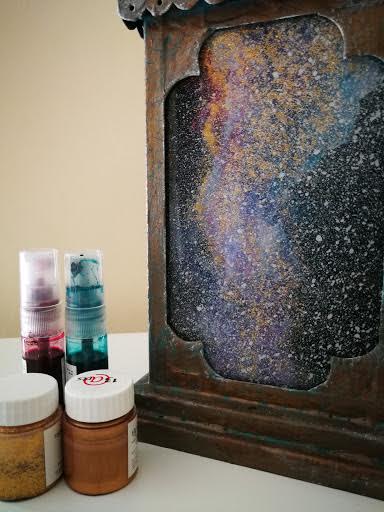
Next I took my turquoise mist, dirty pink mist and Vivid violet paint and used a paintbrush to create areas of colour around the glitter; blend the colours together, leave areas where the colour pools, let the colours dry and then apply further coats to create areas of light and more intense colour- basically just play about until you are happy with the effect! I took my spray bottle of liquid medium again, but this time applied a very, very thin layer of the medium as too much can cause the mists to run, so I did multiple thin layers to seal the colours.

 Now to finish the galaxy effect. Over the areas of colour I painted a very light layer of white gesso and over the rest of the glass I painted a thicker layer of black gesso (the reason why will soon become clear!), and when this was dry I put the glass panels back into the lantern.

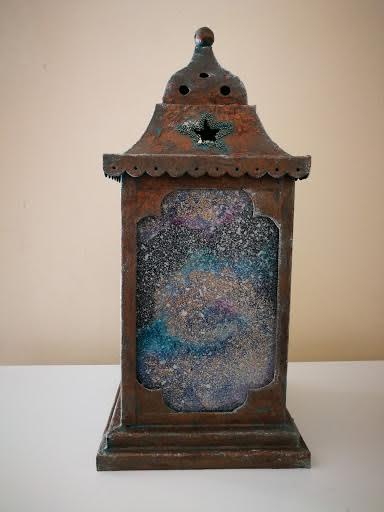
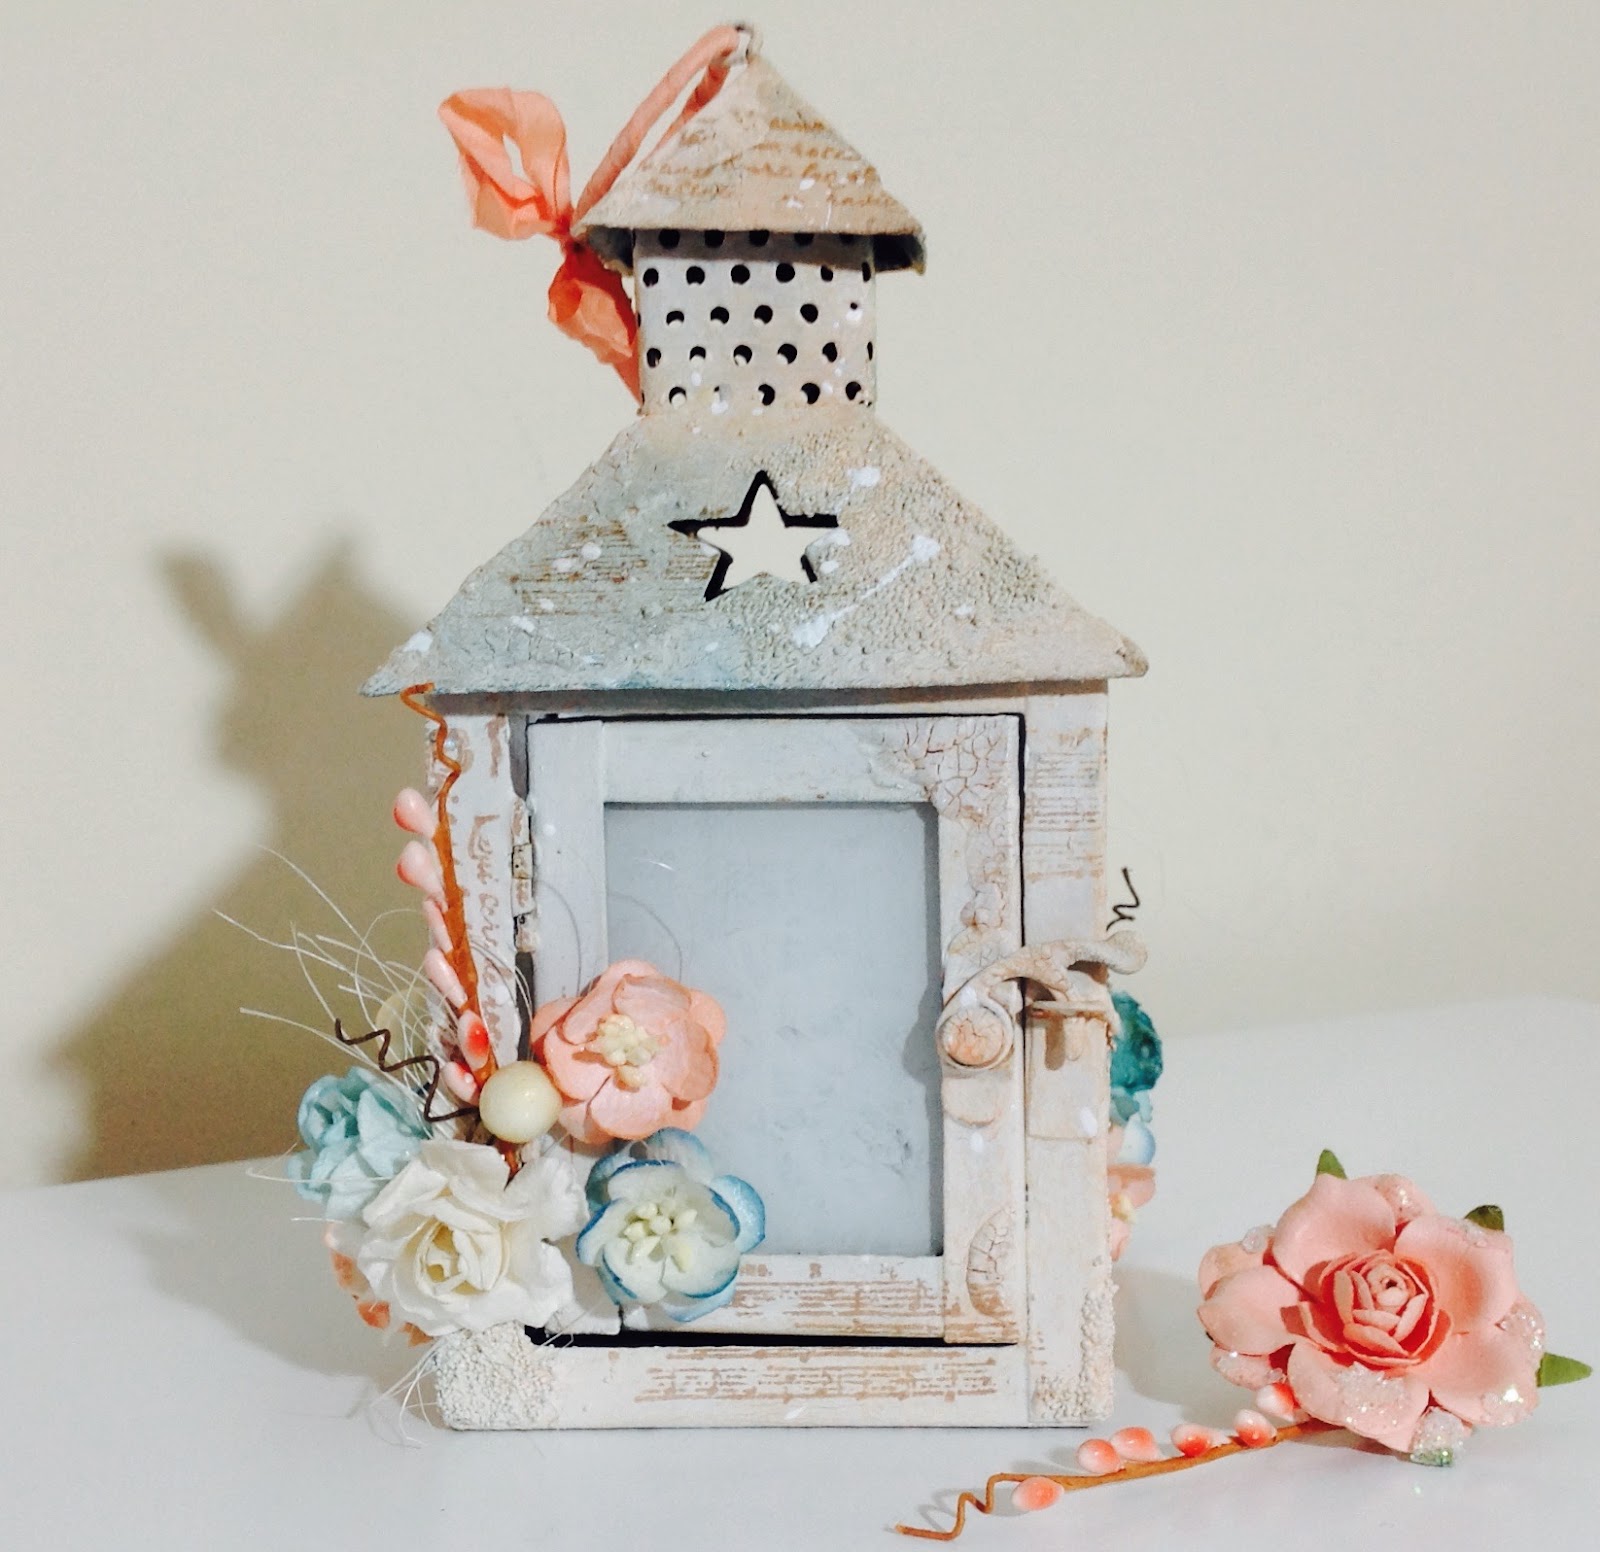
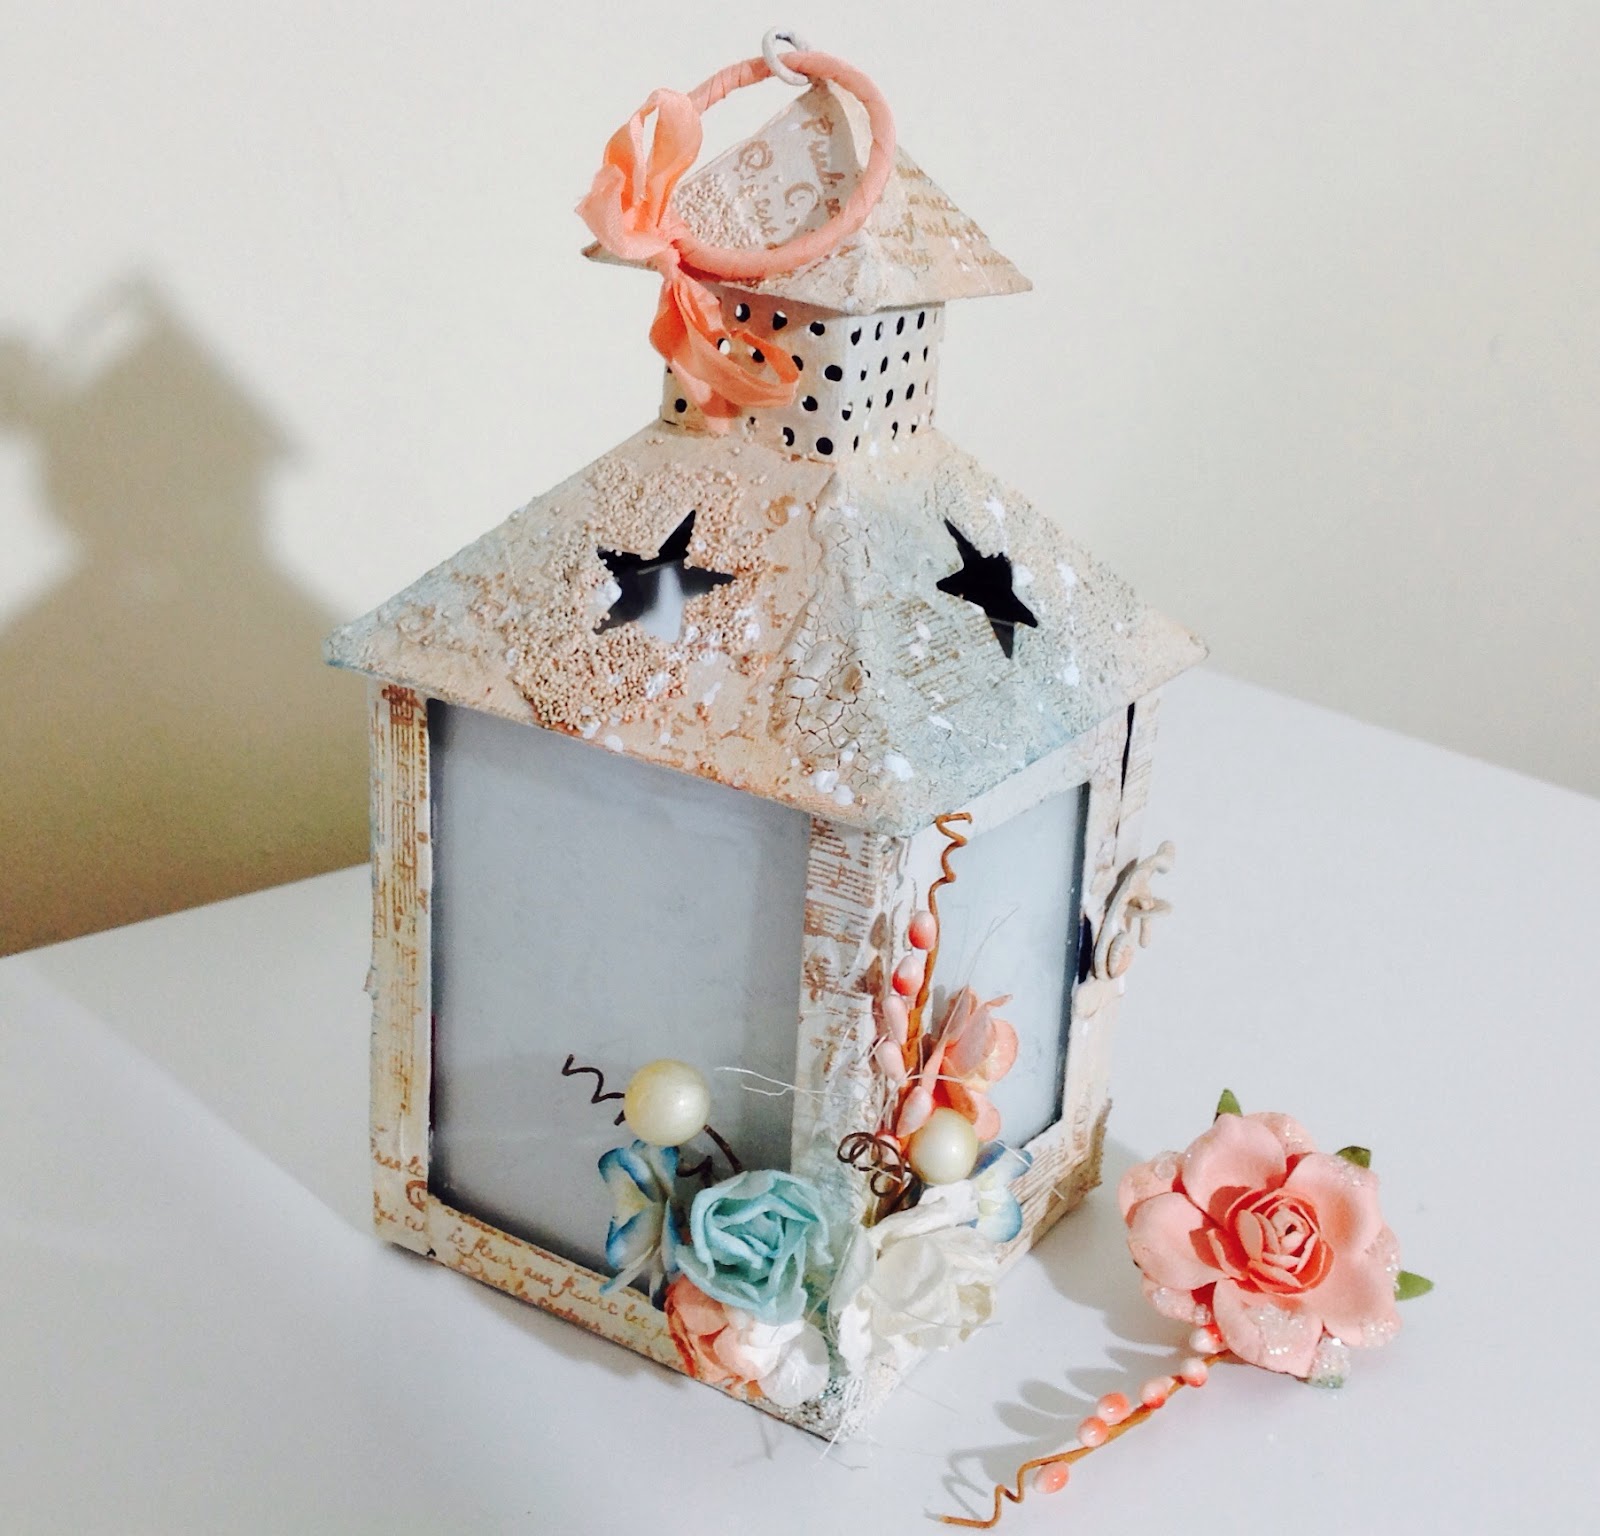
This is the finished lantern, with a shabby, vintage-effect frame and 
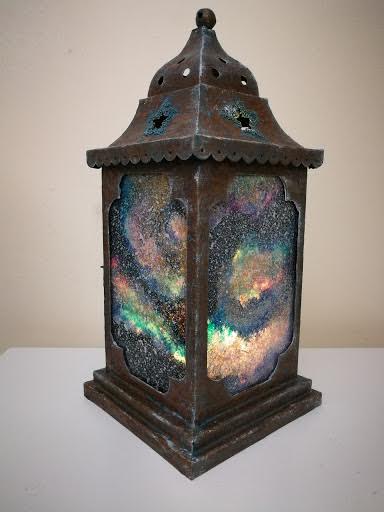
beautiful galaxy panels, which looks pretty enough. But, if you place a candle or light source inside the lantern and dim the lights a little........


........ the areas of white gesso allow the light to shine through the glass and create a lovely illuminated galaxy effect!


Sunday 16 July 2017

Kracken battle!

I'm part of a fantastic group on Facebook and we recently had craft exchange where the only real rule was that the item had to be handmade and if possible incorporate some of the recipients likes. I've had this kracken in my head for ages and this was just the excuse to go crazy with the tentacles!
Using an old picture frame as the base, I built up the ship first using sculpey and then added the kracken around it. Acrylic paint, metallic waxes and gloss varnish were used to create the details. I'm so happy with how this turned out and even more thrilled that my craft exchange partner loved it too.

Sunday 28 May 2017

A splash of colour

Challenge 54 on the 13arts blog is all about butterflies. I always like to see the butterflies come back to the garden after winter, it feels like summer has properly arrived and the fluttering, colourful wings can brighten up the most overcast day.
I glued flowers, chipboard, card and stones an A5 piece of card and painted this with black gesso to create the background. I then dry brushed this with white gesso to highlight some of the texture. Using a mold i made lots of little butterflies and painted them in a rainbow of colours, also spraying some of this colour onto the black gesso. I then stuck down the butterflies, used some gloss varnish to give them a shine and did a final spray of white SPLASH ink over the page.


Monday 1 May 2017

Odds and ends altered tin

While I don't hoard as much as I used to, I still have a box of things that I keep because I might find a use for them. One of those things was a pack of cheap and nasty coloured pencils so when I read the latest challenge on the  Retrokraftshop blog, I thought would use them to give an old coffee tin a bit of a makeover.
The rules of the challenge were to use only one medium, 3 paint colours and 3 embellishments plus unlimited pens, pencils, buttons, gauze, thread and glue. I may have slightly bent the rules by using my old pencils to create texture and shape on the tin! I used thread to tie the pencils in bundles and attach them to the tin, then covered everything in white gesso. I used Deco arts paints in burnt umber, verdigris and green gold to add colour, then placed 3 brass butterflies onto some pieces of purple gauze and glued onto the tin. I finished off with some paint splatters of gesso and verdigris.
Now I have a pretty paint brush tin and a some more space in my junk box!

Saturday 18 March 2017

The beauty in decay

I find myself fascinated by pictures of abandoned places being reclaimed by nature- old theme parks, dilapidated hotels, disused factories- the combination of rusty browns and patina blues mixing with the bright greens of new vegetation always reminds me of what a wild and unpredictable force nature is and the great strength it has compared to man-made objects.

This canvas has been a work in progress for a long time- I could never seem to get the picture I saw in my head onto the page. After throwing pretty much every product I own at it, I'm finally happy with how it turned out!


Stencils, modelling paste, inks, paints, sprays, chipboard, papier-mache, grit, wires and ephemera all went into this vision of decay and rebirth.

I'd like to enter this canvas into SanDee & Amelie's March steampunk challenge.


Wednesday 1 March 2017

Rainbows and an exciting opportunity!


Last months blog challenge at 13arts was Rainbows and inspired me to put together this art journal page. I don't tend to get down very often but when I do, I always try to remember that tomorrow is a new day, full of new possibilities and opportunities.
Speaking of 13arts, I am absolutely thrilled to be a Guest Designer from July to September for their Design Team! Such a lovely opportunity to work with fantastic artists and fabulous products, I can't wait for July!

Sunday 29 January 2017

Mythology and folklore

I've always been fascinated by fairytales and myths; from pixies at the bottom of the garden to sleeping kings waiting under a hill til they are called to return. This set of three canvases feature stories from Scottish folklore, although they make an appearance in the folklore of numerous other cultures. The Selkie live as seals when they are at sea but shed their skins to walk as humans on land. Often the story tells that the selkies skin is stolen and so it must remain on land, unable to return to the sea until it finds its skin. The Kelpie is a shape-shifting water spirit that haunts the rivers and lakes of Scotland. It often appears as a horse or  beautiful young woman and lures the unwary to a watery grave. The White stag symbolises the existence of the Otherworld, often described as fairy cattle that are herded by benevolent fairy women.


These canvases have been created using polymer clay to sculpt the figures and background plaques and decorated with acrylic paints, sprays and various mixed media components.


Tuesday 24 January 2017

New year, new....

I don't tend to make New Year resolutions but I do like to have a phrase or motto to live by for the coming months. It feels like there are going to be a lot of changes this year, both worldwide and personally so my mantra for 2017 is "Change is inevitable. Embrace it. You are stronger than you know.". I created this art journal entry using lots of gears, 13arts berries, flowers, grit and chipboard, and paints and inks for colour.


Monday 16 January 2017

Astronomical devices

This was a customised order of my horoscope pendant for my very first international etsy sale:


 Currently in the shop are this orrery device for planetary determination-ining (not a word I know but it sounds like it should be, at least in my head!) and a walrus, because why not!


Sunday 15 January 2017

Butterfly book

I've had papers from the gorgeous His & Hers collection by 13arts sitting on my desk for a little while, waiting for the chance to use them. When I picked up some old books from the charity shop, inspiration struck!

I started by gluing the inside pages together, then cut different layers to create a space for depth and texture. Then a bit of gesso and dry brushing some brown paint to give a vintage/ aged look.


For the cover, I added some old clay frames and chipboard then covered everything with a coat of black gesso to see how it looked. I used glass beads and grit from 13arts to create areas of texture and covered everything in black gesso again.


I then added some wine red shiny powder to water and painted over the cover to give a nice shimmer to everything and highlighted some details with turquoise Inka gold wax.


For the inside, I cut out a lot of butterflies from the papers along with some other designs and layered these up over some sisal. I used the turquoise wax and wine powder to add some colour and tie in with the front colour, and it was done.


Thursday 5 January 2017

Altered lantern

One of my favourite things after Christmas is to buy cheap decorations and give them a new lease of life. I picked up some rather tacky lanterns that were in desperate need of a makeover and started with a coat of white gesso.


I then added crackle medium and fine grit to create some texture and gave it another coat of gesso.  I painted everything with a cream base paint and then used peach and turquoise mists for colour. I added some stamped areas and misted some flowers to co-ordinate with the lantern. A ribbon around the handle finished it off. All media and embellishments were from 13arts.